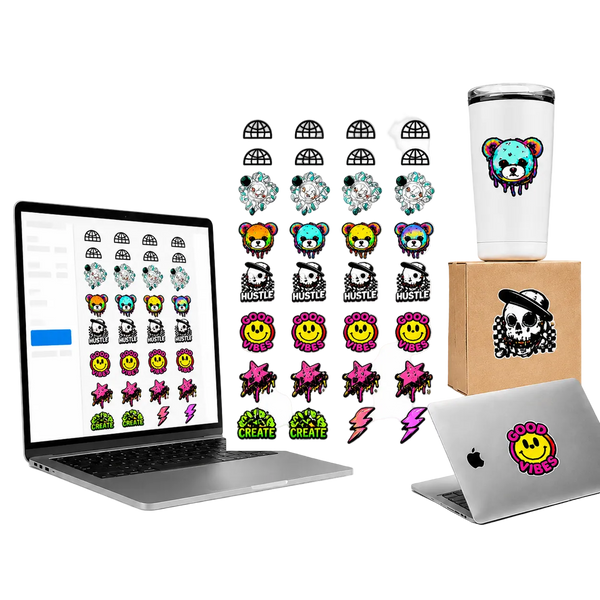










A gang sheet is only as cost-efficient as how well the designs on it are packed. Two people can order the exact same sheet size and end up with a very different cost per transfer, purely based on how the designs were laid out. Here's how to actually get the most out of a sheet.
Standard Sheet Sizes
- 22" x 24": a common starting size for smaller batches or testing a new design lineup before committing to a larger sheet
- 22" x 36": a mid-size sheet that fits a solid mix of small and medium designs without excess unused space
- 22" x 48"+: for higher-volume orders where the per-transfer cost drops the most as more designs are nested onto one continuous sheet
The 22" width is standard because it matches typical DTF printer capacity — length is where you have flexibility, and where the real cost-per-transfer savings happen as you scale up.
Nesting: The Difference Between an Efficient Sheet and a Wasteful One
Nesting is how tightly your individual designs are packed onto the sheet. A sheet with designs spaced out with excess white space between each one wastes paid-for print area — you're paying for the full sheet dimensions regardless of how much of it is actual design versus empty gap.
To nest efficiently:
- Group similar-sized designs together rather than scattering large and small pieces randomly — similarly sized pieces tessellate more tightly than mismatched sizes
- Rotate designs to fill gaps — an irregularly shaped design (a logo that's wider than tall, for example) often nests more efficiently rotated 90 degrees next to a taller design than left in its "natural" orientation
- Minimize the gap between pieces — a small margin is necessary so pieces can be cut apart cleanly, but that margin should be consistent and minimal, not a wide buffer "just in case"
Spacing for Clean Cutting
While tight nesting saves money, leave enough space between designs to actually cut them apart without clipping into the neighboring transfer — roughly 1/8" to 1/4" of gap is typically enough margin for clean scissor or blade cuts without sacrificing much usable sheet space.
Mixing Multiple Designs on One Sheet
If you're ordering transfers for multiple different products or SKUs (common for shops decorating a mix of shirt designs), a gang sheet lets you combine everything into one order instead of ordering separate smaller runs per design — which is where the real cost advantage of gang sheets shows up for small businesses and side hustles running varied inventory rather than one repeated design.
Frequently Asked Questions
What's the standard width for a DTF gang sheet?
22 inches is standard, matching typical DTF printer capacity. Length varies based on how many designs you're fitting on the sheet.
How much space should I leave between designs on a gang sheet?
Roughly 1/8" to 1/4" is typically enough for clean cutting without clipping into neighboring transfers, while still keeping the layout tight.
Can I put multiple different designs on one gang sheet?
Yes — combining multiple designs onto one sheet is one of the main cost advantages of gang sheets for shops running varied inventory rather than a single repeated design.
Build your sheet with the Gang Sheet Builder or upload a pre-nested file on the DTF Transfers page.